In this video, we’ll show you how to add a Photo Gallery section to a web page; how to add images to your photo gallery and then arrange them, and how to edit individual image settings in a photo gallery.
Photo galleries let you showcase several photos all in one place, making them especially useful for businesses with highly visual products and services.
I’m gonna show you how to add a photo gallery to your website. I’m in edit mode on Coinline Bar and Grill.
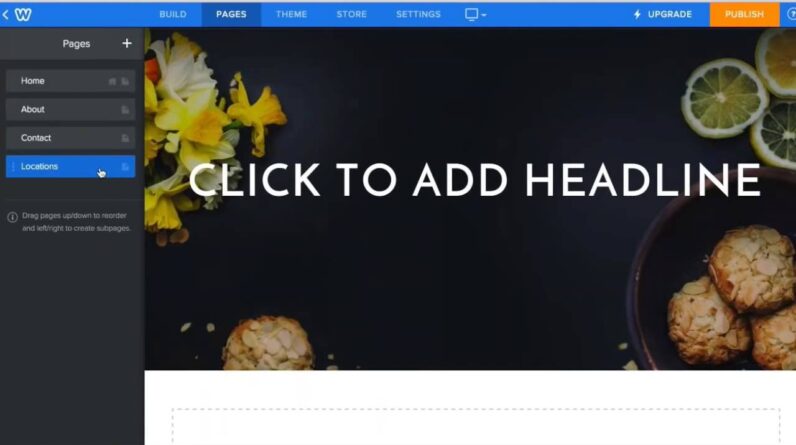
So first we’ll scroll to where we want to add the photo gallery on the page.
Click add section. On the sections panel, select photo gallery. Website builder includes a variety of gallery layouts.
You’ll notice some are labeled as slideshows. These layout types offer additional settings that rotate the images in a gallery either automatically or manually.
For this demo, I’m gonna stick with a static photo gallery and add this one.
Here’s the new section on the page and the photo gallery editing panel is open on the right. As with most section types in website builder, the layout and accent color of a photo gallery can be changed. The text you enter in the title field displays here on the page.
If you don’t want a title, you can always delete the text and leave the field empty.
Remember the images in the templates are only placeholders. So make it your own. To do this, let’s start by removing all of the stock images in the gallery. And then click the plus to add our own.
You can select images for your gallery from any of the tabs. And because a photo gallery is a multi-image layout, you can select several images on a tab and add all of them to the gallery with one click. If you don’t like the order in which your images display, just hop over to the photo gallery edit panel and under gallery images you can drag and drop the thumbnails to reorder them.
The preview window will update in real time. To edit individual images, click on its thumbnail in the photo gallery edit panel.
You can just zoom in or out, reposition the image and change the format to black and white.
You can also add descriptions as well as captions to each image in the photo gallery. Describing what the image is about will really benefit site visitors that are using a screen reader or those who have slower connections.
It also improves your page’s search engine rank. Select the caption text to format it or link the caption text to another page in your site or any page on the web.
It’s important to note that the caption on a gallery image is different from the text entered in an image’s description field.
Caption text is designed to enhance the photo gallery experience. When a user opens the gallery in view mode the texts you enter in add caption displays on screen with the image.
I’ll click done to exit and let’s preview our new photo gallery. Done, as the cursor rolls over the image in the gallery, it changes to the hand to indicate the image is clickable.
Clicking the image opens the gallery in a separate viewing window.
Here’s where the caption text we added shows up and these arrows enable users to move backward or forward in the gallery.
Hope you enjoyed this tutorial on photo galleries.
As the company empowering everyday entrepreneurs around the world, GoDaddy gives you all the help and tools you need to grow online.
#WebsiteTips #Website #BusinessWebsite #WebDesign #HowTo #GoDaddy #GoDaddyWebsite