🎁 Apply the code “FramerU” when upgrading your Spline account to Super. You’ll receive a 30% discount on your Yearly subscription.
Check Spline 👉 https://spline.design/
Discover, remix and showcase 3D creations #MadeInSpline at https://community.spline.design/
—————————————————————————
🎓 Framer University: https://framer.university
👉 Create a free Framer account: https://framer.university/free-account
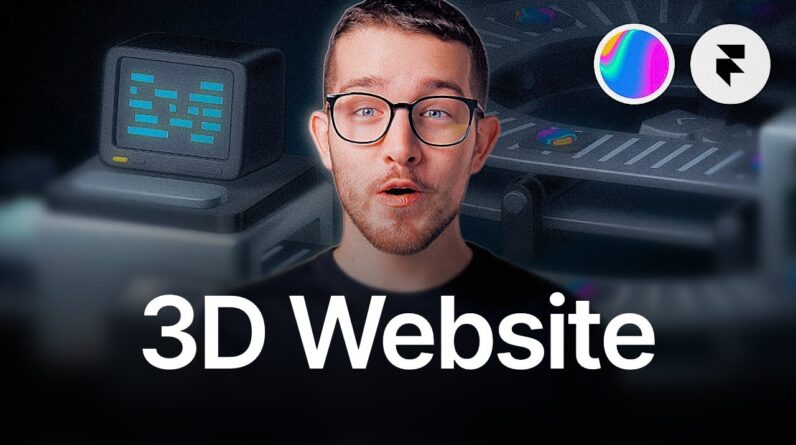
In this tutorial, you’ll learn how to create an interactive 3D website using Spline and Framer.
I’ll show you how to use the Spline library to get free 3D assets for your website, then we’re gonna learn how to customize and add interactions to these 3D scenes, and then at the end we’re going to integrate our interactive 3D scene into Framer.
With the help of this video, you’ll be able to create your 3D website without any coding.
→ Unedited Spline File: https://dub.sh/unedited
→ Edited Spline File: https://dub.sh/edited
→ Framer Project Remixes: https://framer.university/resources/interactive-3d-framer-website
0:00 – Introduction
1:10 – What is Spline?
1:46 – Using the Spline library
2:28 – Spline basics
3:37 – Customizing the 3D scene
9:18 – Specifying a custom camera
12:23 – Adding a cursor follow interaction
15:30 – Adding button press interaction
18:55 – Adding 3D scroll animation
20:25 – Exporting the scene into Framer
25:35 – Making the 3D scene responsive
27:50 – Publishing the website
28:45 – Closing thoughts
Join the Spline community:
Instagram: https://www.instagram.com/splinetool/
Twitter / X : https://twitter.com/splinetool
TikTok: https://www.tiktok.com/@splinedesign
Discord Community: https://discord.gg/spline
Follow me on:
X: https://x.com/learnframer
Instagram: https://instagram.com/framer.university


