I Guarantee I Can Teach You to Master Photoshop. Learn How: https://phlearn.com/aaronwillteachyou
How to Use Artboards in Photoshop
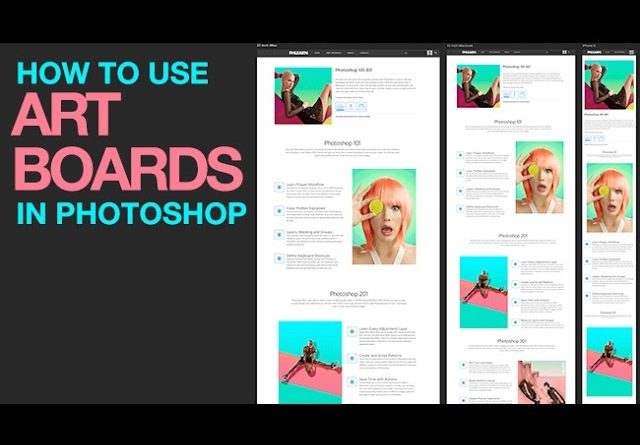
Artboards are a great tool for UX / UI / Web designing across multiple devices. If you want to see what a webpage would look like on a 27″ iMac, a 15″ MacBook PRO and an iPhone, you can use artboards to create design previews of each! Learn how to use artboards to design quickly and efficiently in today’s episode!
How to Create Artboards
Preview your design at different resolutions by going to ‘File – New’ and choosing Artboard from the dialogue box. Here, you can select the resolution you want to preview on (27″ iMac). With the Artboard tool selected, hold ‘Alt/Option’ and click on an edge icon to duplicate the artboard.
Artboards are useful for allowing you to duplicate your designs across artboards as well, so you don’t have to reimport your elements.
How to Use Linked Smart Objects in Artboards
Smart Objects are the best way to adjust and resize your design without losing information. Right click on a layer and go to ‘Convert to a Smart Object’ to make one. To place them onto your artboard, simply duplicate your design layers. If you need to resize the artboard, click and drag the edges with the Artboard tool.
After you’ve arranged the Smart Objects to your liking, you can repeat the process on more artboards. Duplicate the current artboard to make new ones, which you can set to be the sizes of a 15″ MacBook PRO and an iPhone. The Smart Objects will make sure you re-adjust all of your elements non-destructively.
Did you know there is a lot more to PHLEARN than YouTube? https://phlearn.com/more
-~-~~-~~~-~~-~-
-~-~~-~~~-~~-~-


