In this tutorial you will learn how to access great new website called Statigram, you can now access all of your photos and place them on a webpage to link and share with the rest of the world on a desktop interface.
WordPress Plugins are composed of php scripts that extend the unctionality of WordPress. They offer new additions to your blog that either enhance features that were already available or add new features to your site.
To install plugins into your WordPress site, visit the WordPress Plugins Directory site at http://wordpress.org/extend/plugins/. These plugins are designed by volunteers and are free to the public.
Search for a plugin that you would like to install, and click the orange button entitled “download version” to the right.
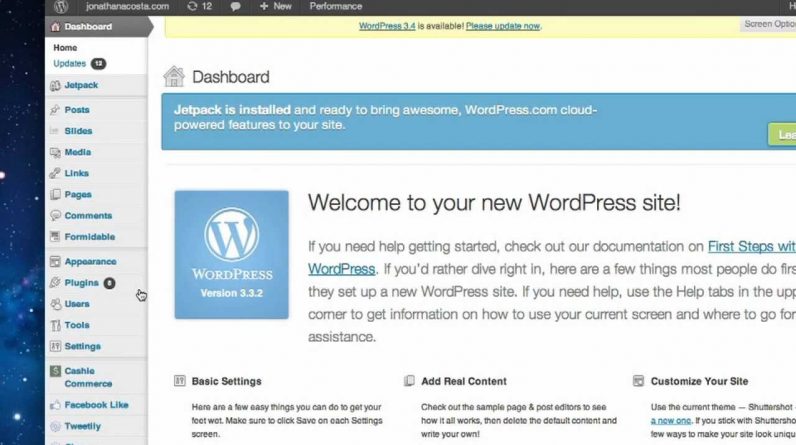
From here log into your WordPress Dashboard, and look for the “Plugins” option on the left. Click on “Add New” at the top.
On the next page, you will see an option to “Upload” next to the “search” field in the menu. Click “Upload” and you will be directed to a page to choose your file.
Click on “Choose File”, and locate the plugin Zip file that you just downloaded from the WordPress Plugins Directory. Once located, click “Open” and “Install Now” on the installation page. The installation should take a couple of minutes.
Once the Plugin is successfully installed, click on the “Installed Plugins option” on the left under “Plugins”. Locate the plugin that you just installed and click “Activate” under its name. Once the plugin has been “activated”, you will be able to manipulate its functionality from the menu on left.
If the plugin is designed to add as a “Widget to your website”, hover over the “Appearance option on the left and select the “Widget” option.
From here, you can drag the Plugin Widget and drop it on the right towards the sidebar and begin making adjustments to the widget. Visit any page on your website and you will see the widget appear on your screen to the right.