


Google has many interesting free tools, but two important ones for helping you improve your site are Search Console and the Rich Results Testing Tool. Search Console helps you get a general feel for how your site is doing in the SERPs, plus keep an eye on any errors to fix and improvements to make. The other one, the Rich Results Testing Tool, helps you see which of your pages are eligible for rich results. Rich results are those highlighted search results like product and event listings.
Want to know more about rich results and the structured data that can power them? Try our Understanding structured data training course! This course explains structured data and how to improve your chances of getting rich results. Access this course, all of our other SEO courses, and extra features in Yoast SEO by going Premium.
What can you do with this tool?
Rich results are incredibly important in today’s world. Once you add structured data to your site, you might get a highlighted listing in the SERPs. This gives you an edge over your competitor, as highlighted listings tend to get more clicks. For many sites and types of content, it can make sense to target rich results.

This post won’t detail how to get structured data on your site. If you’d like to dive into that, please read our ultimate guide to schema.org structured data, check out our free Structured data for beginners training or our Understanding structured data training course. You can also find out how Yoast SEO automatically applies structured data to your site.
Here, we look at how to verify your eligibility and what you can do to improve on that. Google’s Rich Results Testing Tool helps you check your pages to see if they have valid structured data applied to them and if they might be eligible for rich results. You’ll also find which rich results the page is eligible for and get a preview of how these would look for your content.
How do you use the Rich Results Testing Tool?
Using the Rich Results Testing Tool is very easy. There are two ways to get your insights: enter the URL of the page you want to test or the piece of code you want to test. The second option can be a piece of structured data or the full source code of a page, whichever you prefer.
While testing, you can also choose between a smartphone and a desktop crawler. Google defaults to the smartphone crawler since we live in a mobile-first world, people! Of course, you can switch to a desktop if needed.
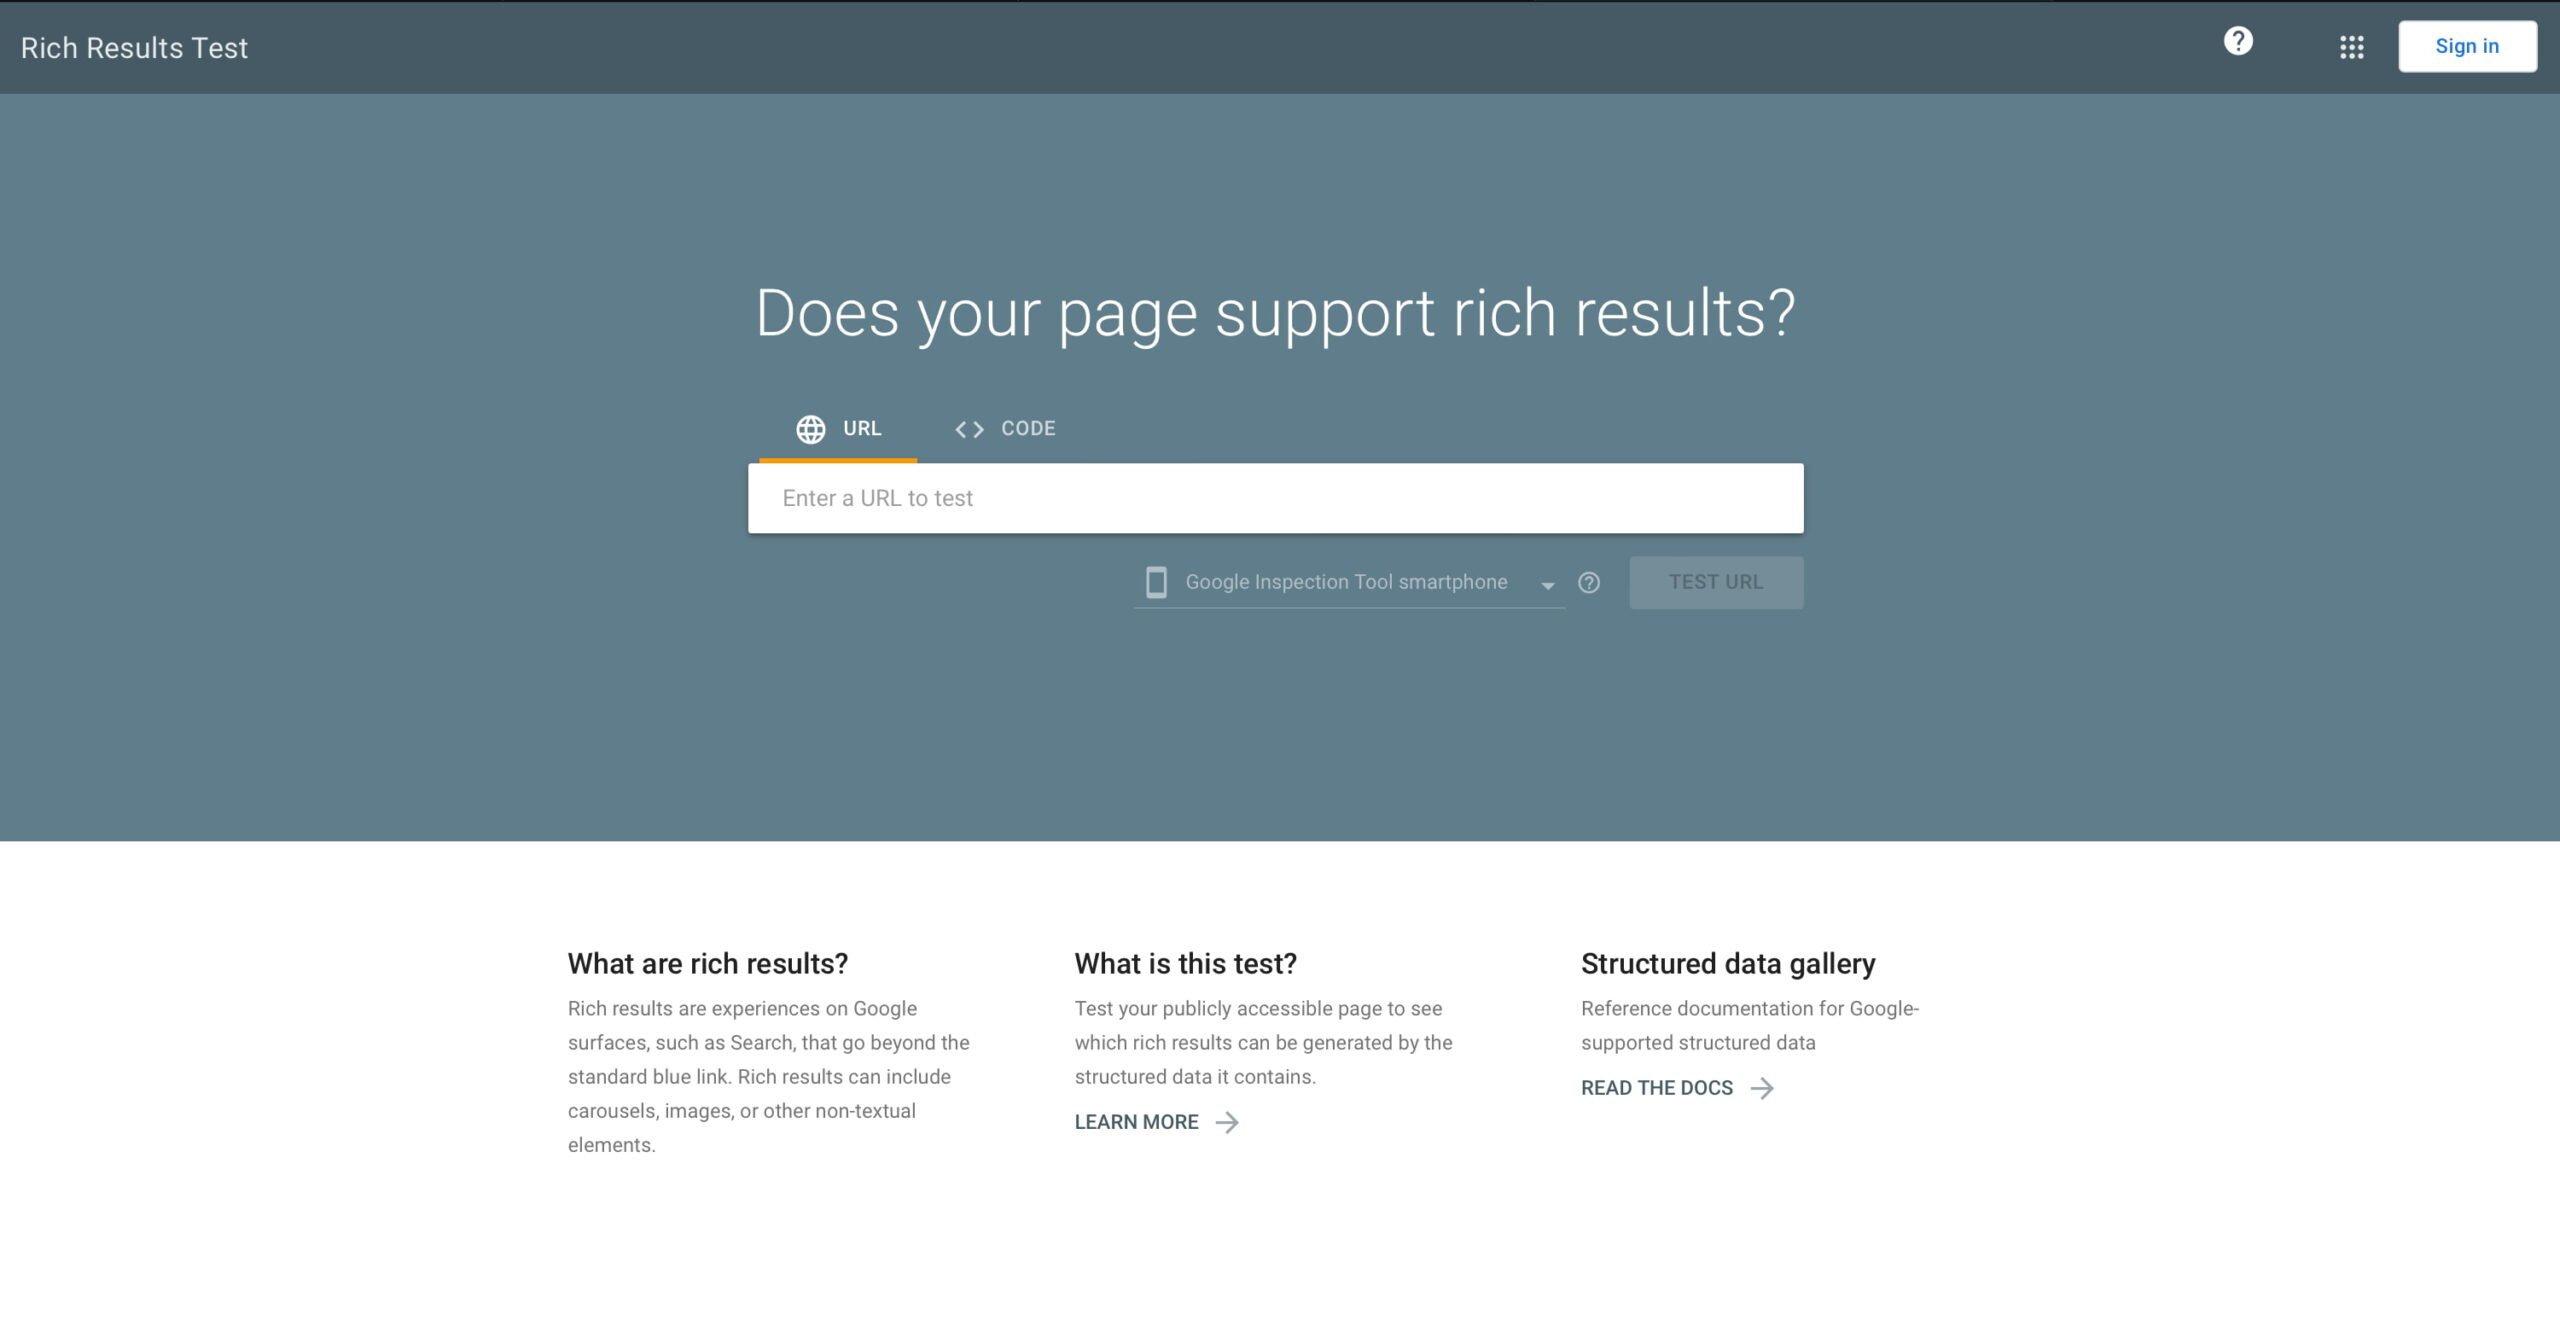
There is a difference, of course. It is a good idea to use the URL option if your page is already online. You’ll see if the page is eligible for rich results, view a preview of these rich results, and check out the rendered HTML of the page. But there’s nothing you can ‘do’ in the code. The code option does let you do that.
Working with structured data code
If you paste a piece of JSON structured data into the code field and run the test, you get the same results as the URL option. However, you can now also use the code input field to edit your code to fix errors or improve the structured data by fixing warnings.
So, how do you go about this?
- Find and copy the code you want to test
- If it’s minified, unminify it for better readability
- Paste the code in the code field of the Rich Results Testing Tool
- Run the test
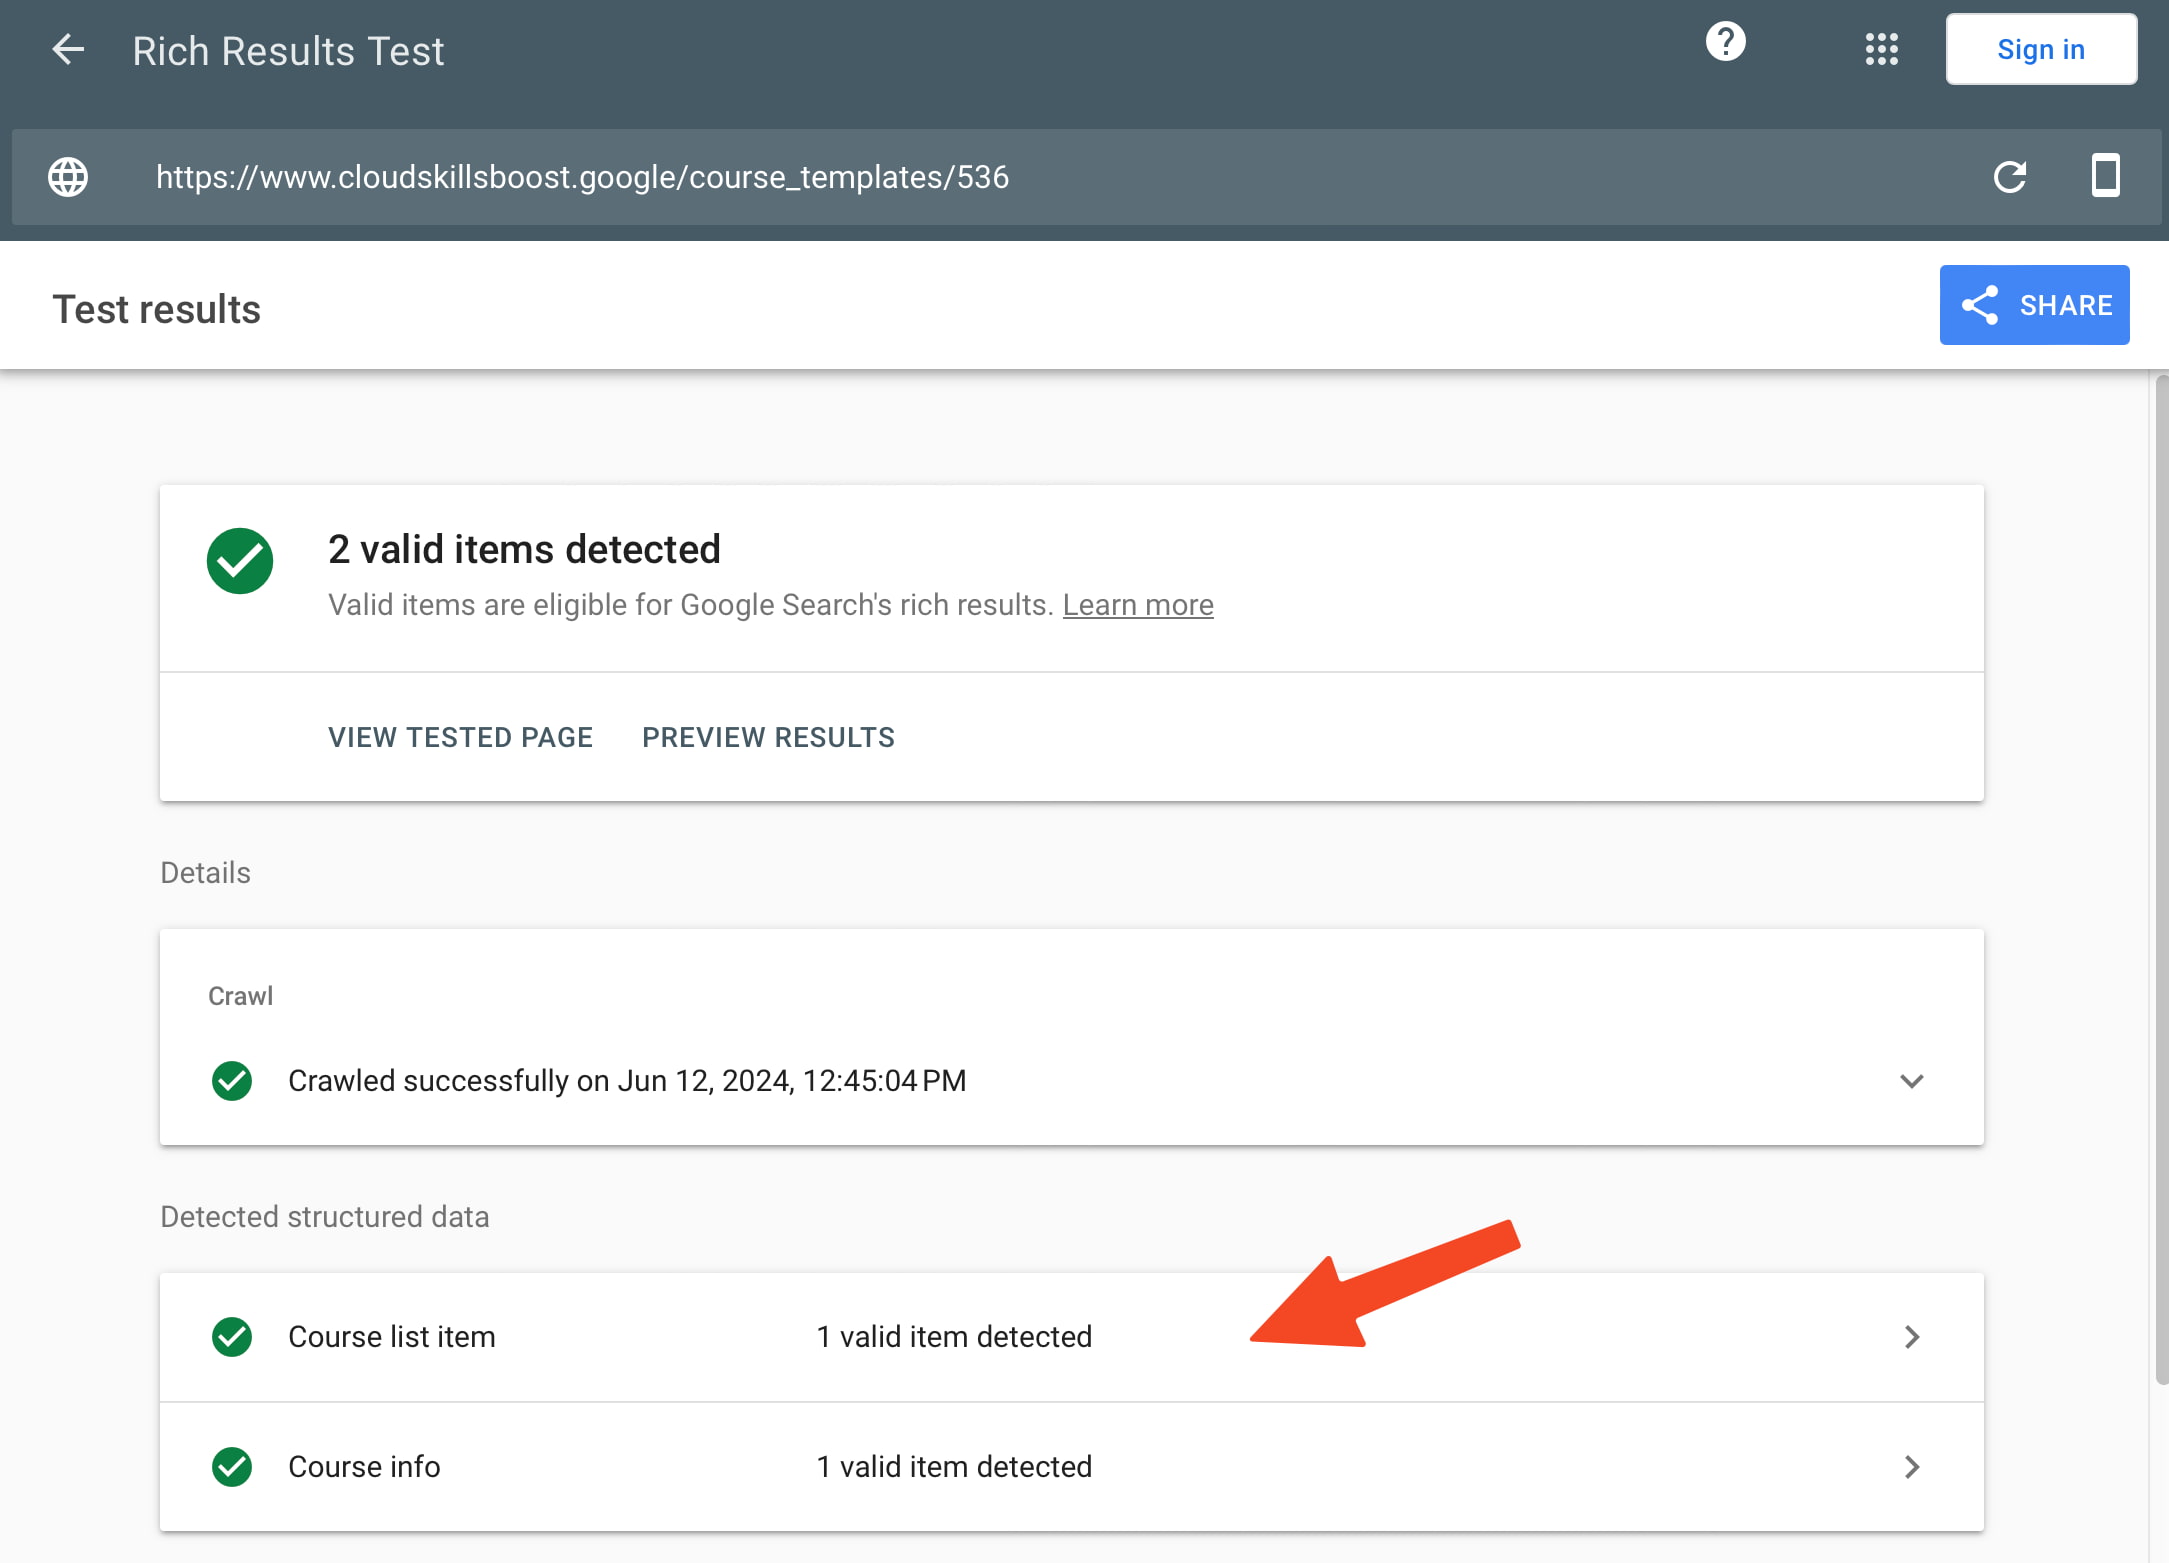
You’ll get a view similar to the one below.
Editing an event page
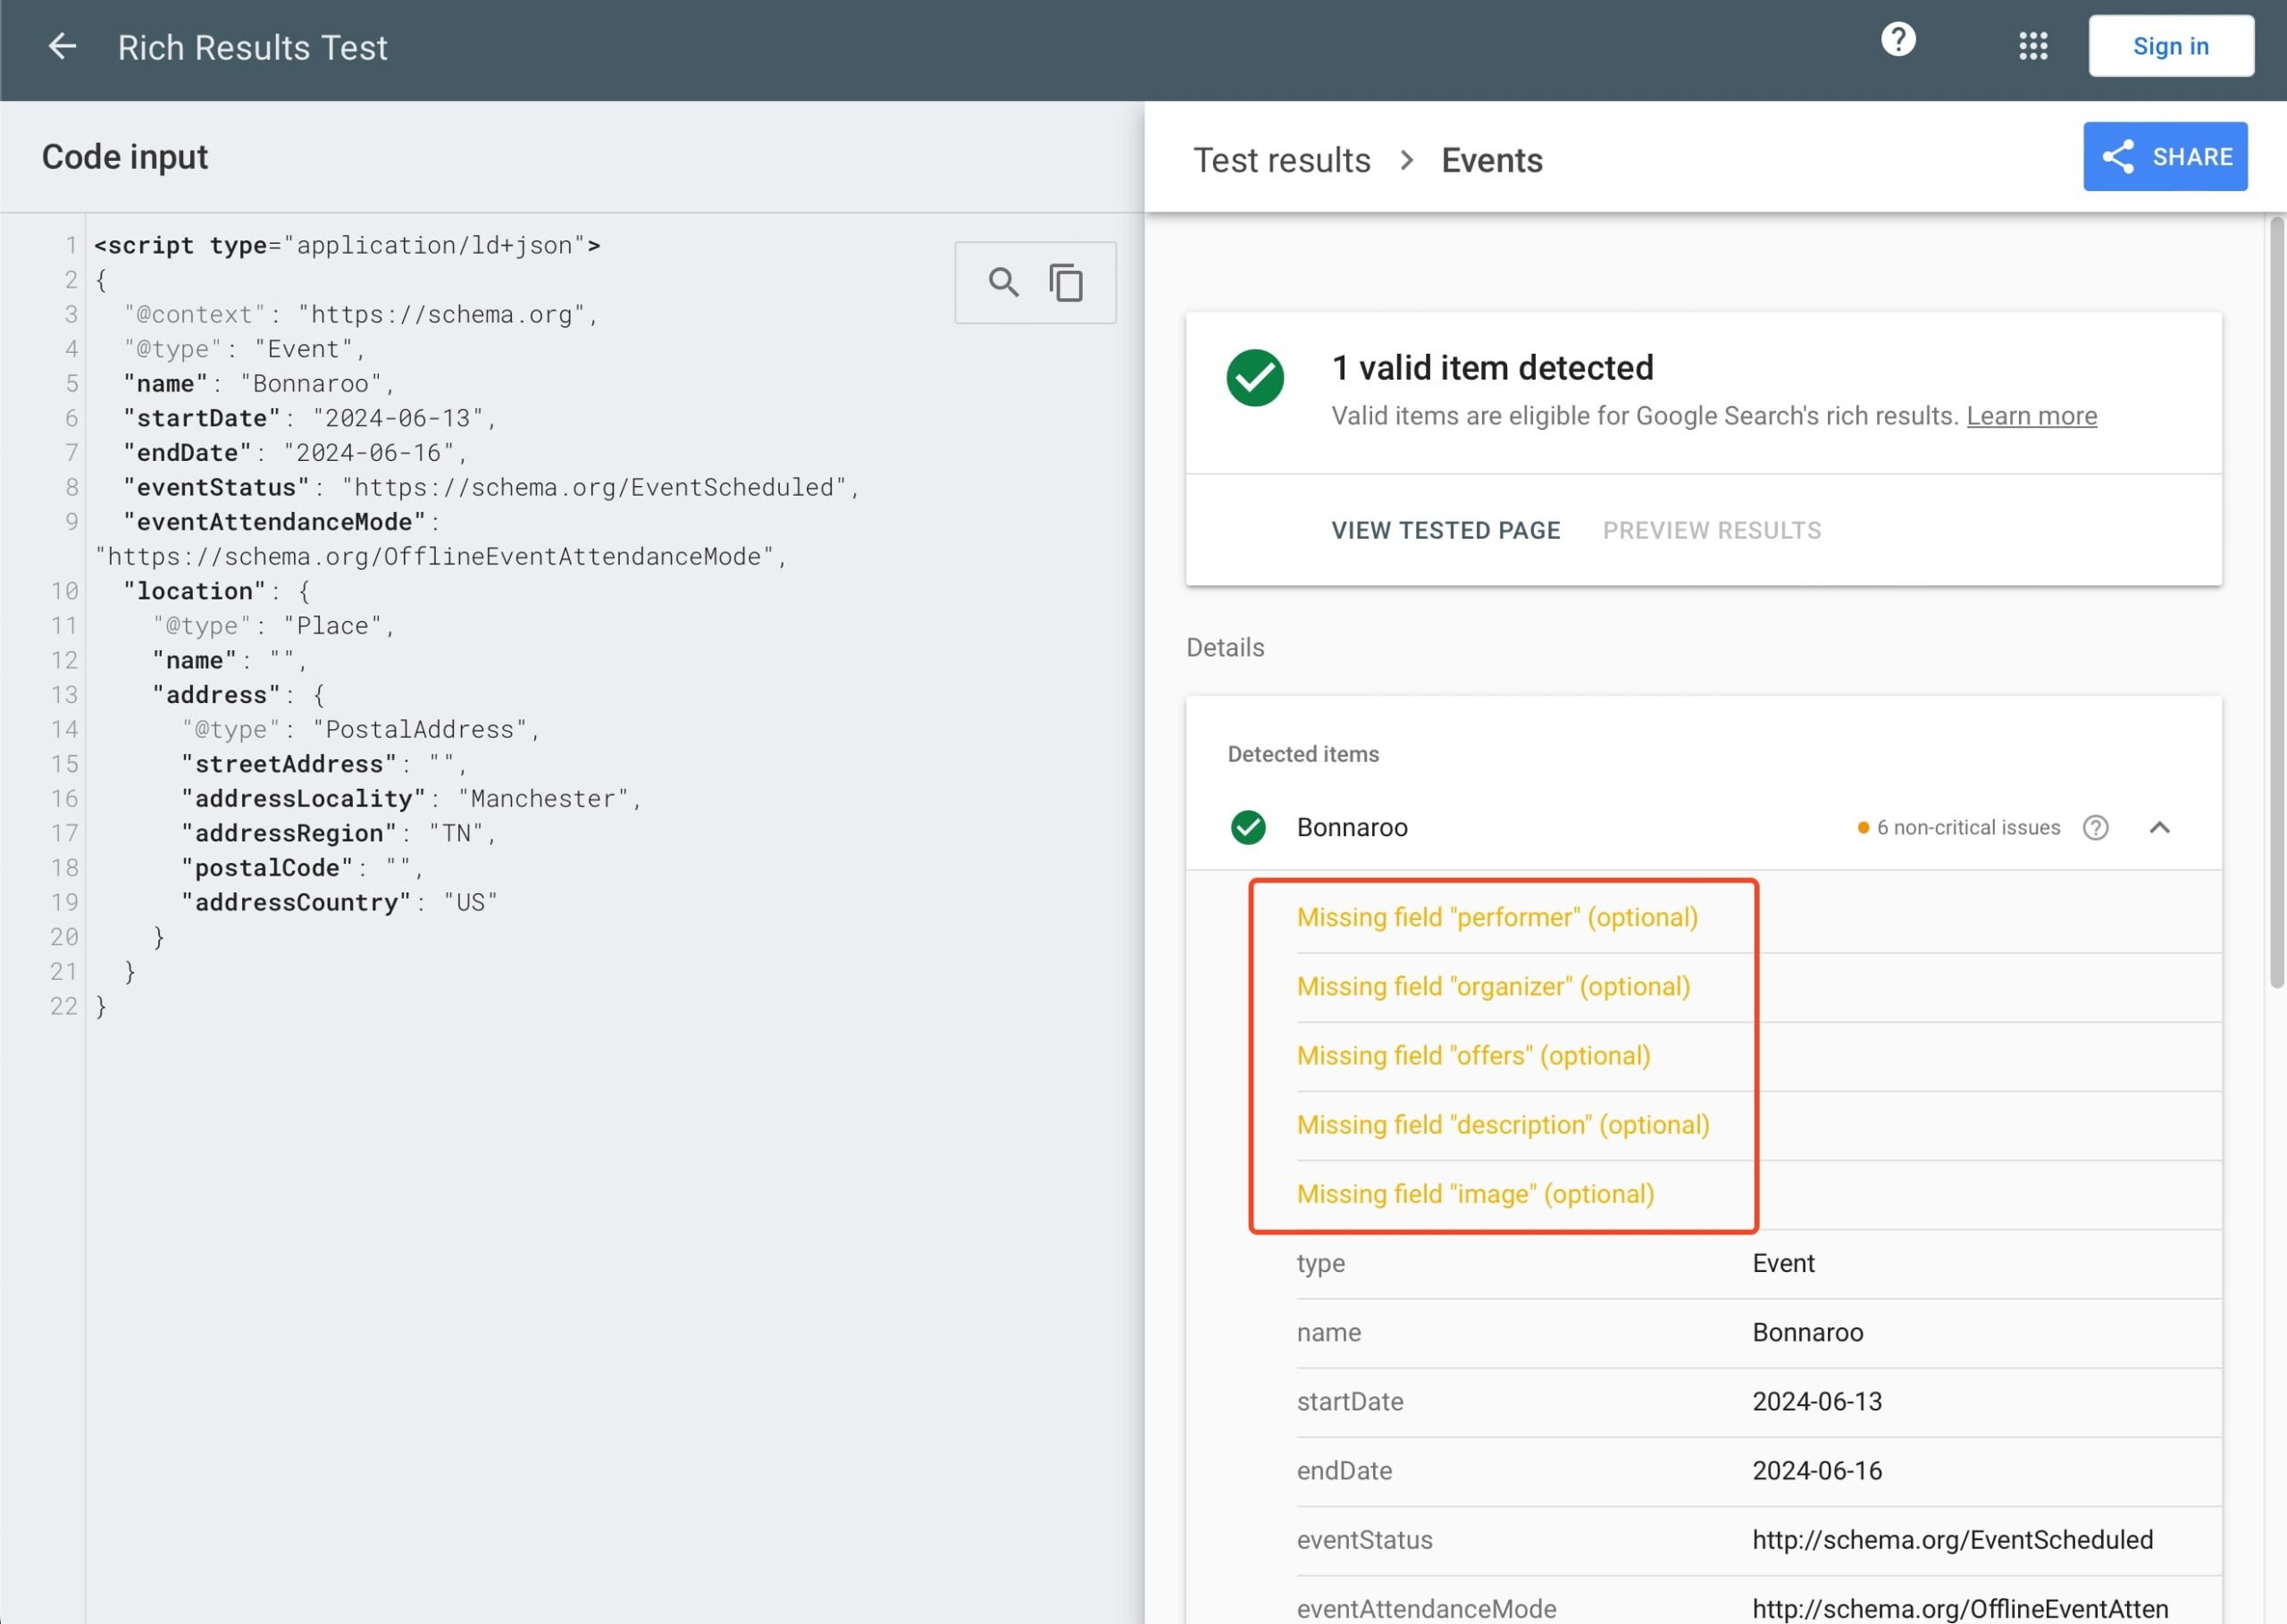
The page above is an event page; you’ll notice warnings in orange. Remember: red is an error, and orange is a warning. An error you have to fix to be valid, but a warning is a possible improvement to make. Because this concerns a paid event, the page misses an offers property. It also misses the optional fields performer, organizer, description and image. We could add these to remove the warnings and round out this structured data listing — because more is better.
Look at Google’s documentation about events and find out how they’d like the offers to appear in the code. To keep it simple, you could copy the example code and adapt it to your needs. Find a good place for it in your structured data on the left-hand side of your Rich Results Testing Tool screen and paste the code.
You could expand the code until it looks something like this:
<script type="application/ld+json">
{
  "@context": "https://schema.org",
  "@type": "Event",
  "name": "Bonnaroo",
  "startDate": "2024-06-13",
  "endDate": "2024-06-16",
  "eventStatus": "https://schema.org/EventScheduled",
  "eventAttendanceMode": "https://schema.org/OfflineEventAttendanceMode",
  "location": {
    "@type": "Place",
    "name": "",
    "address": {
      "@type": "PostalAddress",
      "streetAddress": "",
      "addressLocality": "Manchester",
      "addressRegion": "TN",
      "postalCode": "",
      "addressCountry": "US"
    }
  },
  "offers": {
    "@type": "Offer",
    "url": "https://bonnaroo.com/tickets",
    "price": "450",
    "priceCurrency": "USD",
    "availability": "https://schema.org/InStock",
    "validFrom": "2024-01-01T00:00:00Z"
  }
}
</script>
Rerun the test, and more sections should turn green. If not, you might have to check if you’ve correctly applied and closed your code.
Once you’ve validated your code and know it’s working, you can apply it to your pages. Remember that we’ve described a very simple way of validating your code, and there are other ways to scale this into production. But that’s not the goal of this article. Here, we’d like to give you a quick insight into structured data and what you can do with the Rich Results Testing Tool.
See a preview of your rich results
The preview option is one of the coolest things in the Rich Results Testing Tool. This gives you an idea of how that page or article will appear on Google. There are several rich results that you can test, like breadcrumbs, courses, job postings, recipes, and many more.
These previews aren’t just for showoff — you can use them to improve the look of the rich results. Maybe the images look weird, or the title is not very attractive. Use these insights to your advantage and get people to click your listings!

Introducing the Rich Results Testing Tool
This is a short overview of what you can see and do with the Rich Results Testing Tool. Remember that your content is eligible for rich results if everything is green in the Rich Results Testing Tool and no errors are found. This does not — and we mean not — guarantee that Google will show rich results for this page. You’ll just have to wait and see.
Read more: Rich results are rocking the SERPs »
The post Optimize for rich results with the Rich Results Testing Tool appeared first on Yoast.
